How to Change Date on Squarespace Blog Post (8-Steps)
Are you a small business owner with a Squarespace blog experiencing a decline in traffic to an older blog page? Did you know that 38% of marketers who update their older content see an increase in traffic, with Hubspot reporting as much as a 106% boost? Why not update your blog posts' publication dates to coincide with key industry events, ensuring your content remains relevant and visible in search results?
The following step-by-step guide on how to change date on Squarespace blog post will equip you with the knowledge to effortlessly update the publication dates on your Squarespace blog posts, helping you optimise your own Squarespace site for maximum search engine visibility.

Quick Summary of Steps
Before we get into it, here’s a quick summary of how to change date on Squarespace blog post:
Step 1: Log in to your Squarespace editor.
Step 2: Access the Blog Page Containing the Post
Step 3: Locate and Select the Post in the Side Panel
Step 4: Open Settings from the Ellipsis Menu
Step 5: Find the "Status" Section in the Options Tab
Step 6: Select a New Date Using the Calendar
Step 7: Save the updated changes.
Step 8: Resubmit the updated blog URL to Google Search Console
Why Update Your Blog Post Dates?
Updating the dates on your blog posts is crucial for several reasons:
Refreshing the publication dates ensures that the content remains relevant and useful, enhancing the experience of readers on your site.
Updated content signals to search engines that your information is current, improving its visibility and potentially driving more traffic to your website.
Regular updates help maintain consistency and accuracy in your content archives, allowing posts to be organized in reverse chronological order. This makes it easier for visitors to find the most recent information.
Keeping your blog posts up-to-date helps establish trust with your audience, showing that you are actively managing and maintaining your blog.
Preparation Steps Before Updating:
Review Content Relevance: Assess whether the existing information is accurate and up-to-date.
Update Outdated Information: Modify any content that does not reflect current conditions to maintain credibility and enhance user engagement.
By implementing these steps, you can effectively learn how to change date on Squarespace blog post, ensuring your content remains current and valuable to your audience.
How to Change Date on Squarespace Blog Post After Publishing (8-Step Guide)
Changing the date on your Squarespace blog posts is a simple process, whether you're using Squarespace 7.0 or version 7.1+. Here's how to change date on Squarespace blog post:
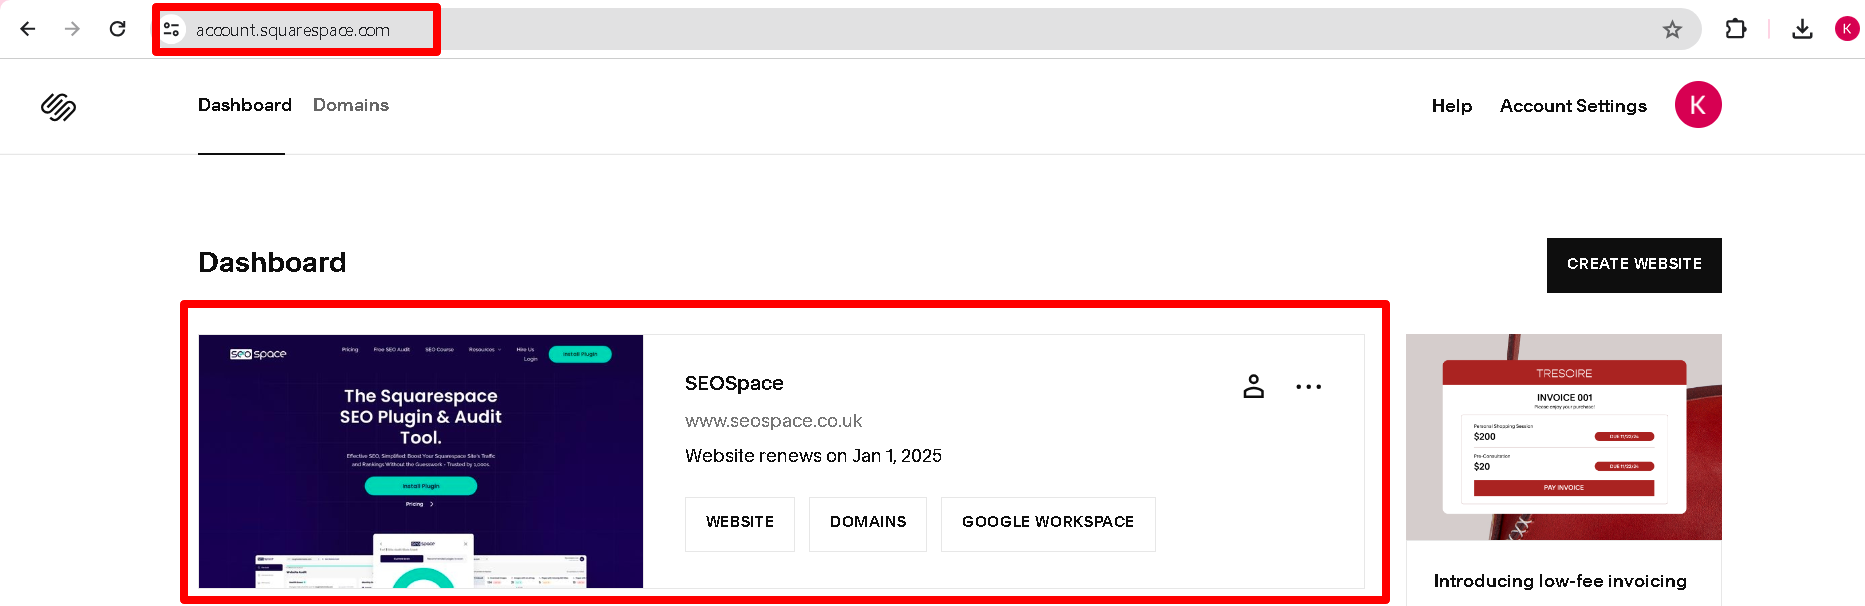
Step 1 - Log in to your Squarespace Account
Begin by logging in to your Squarespace account. Once logged in, select the website containing update blog post settings for the individual blog post settings you wish to update.
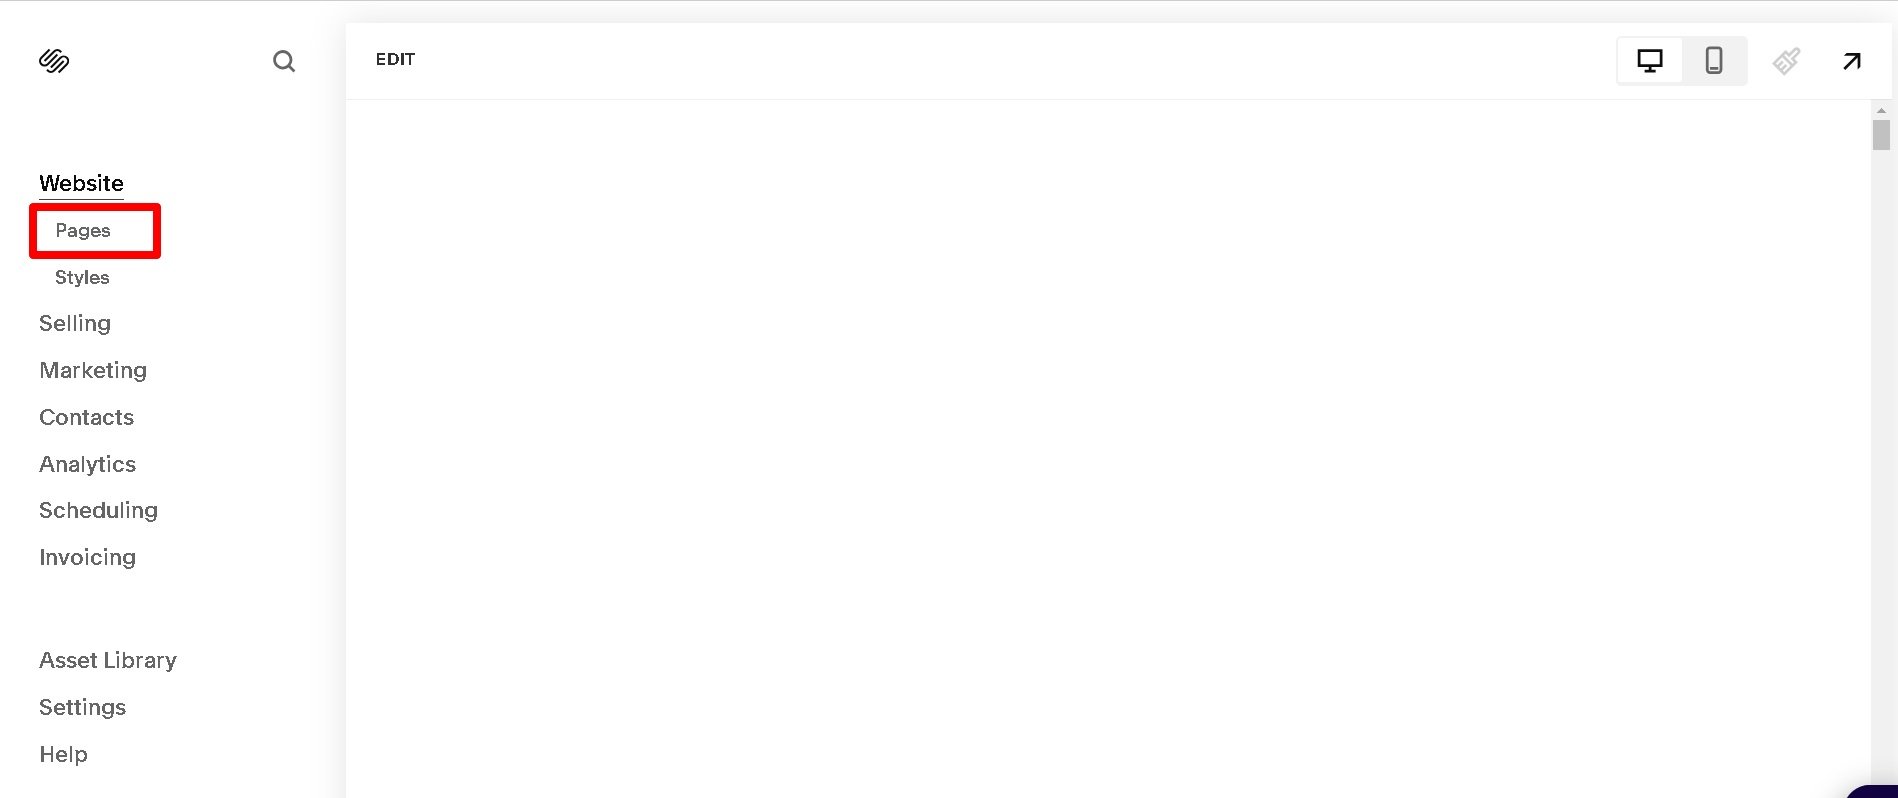
Step 2 - Access the Blog Page Containing the Post
Navigate to the 'Pages' section of your Squarespace dashboard. Locate and select the specific blog page where the post you want to create or update is located.
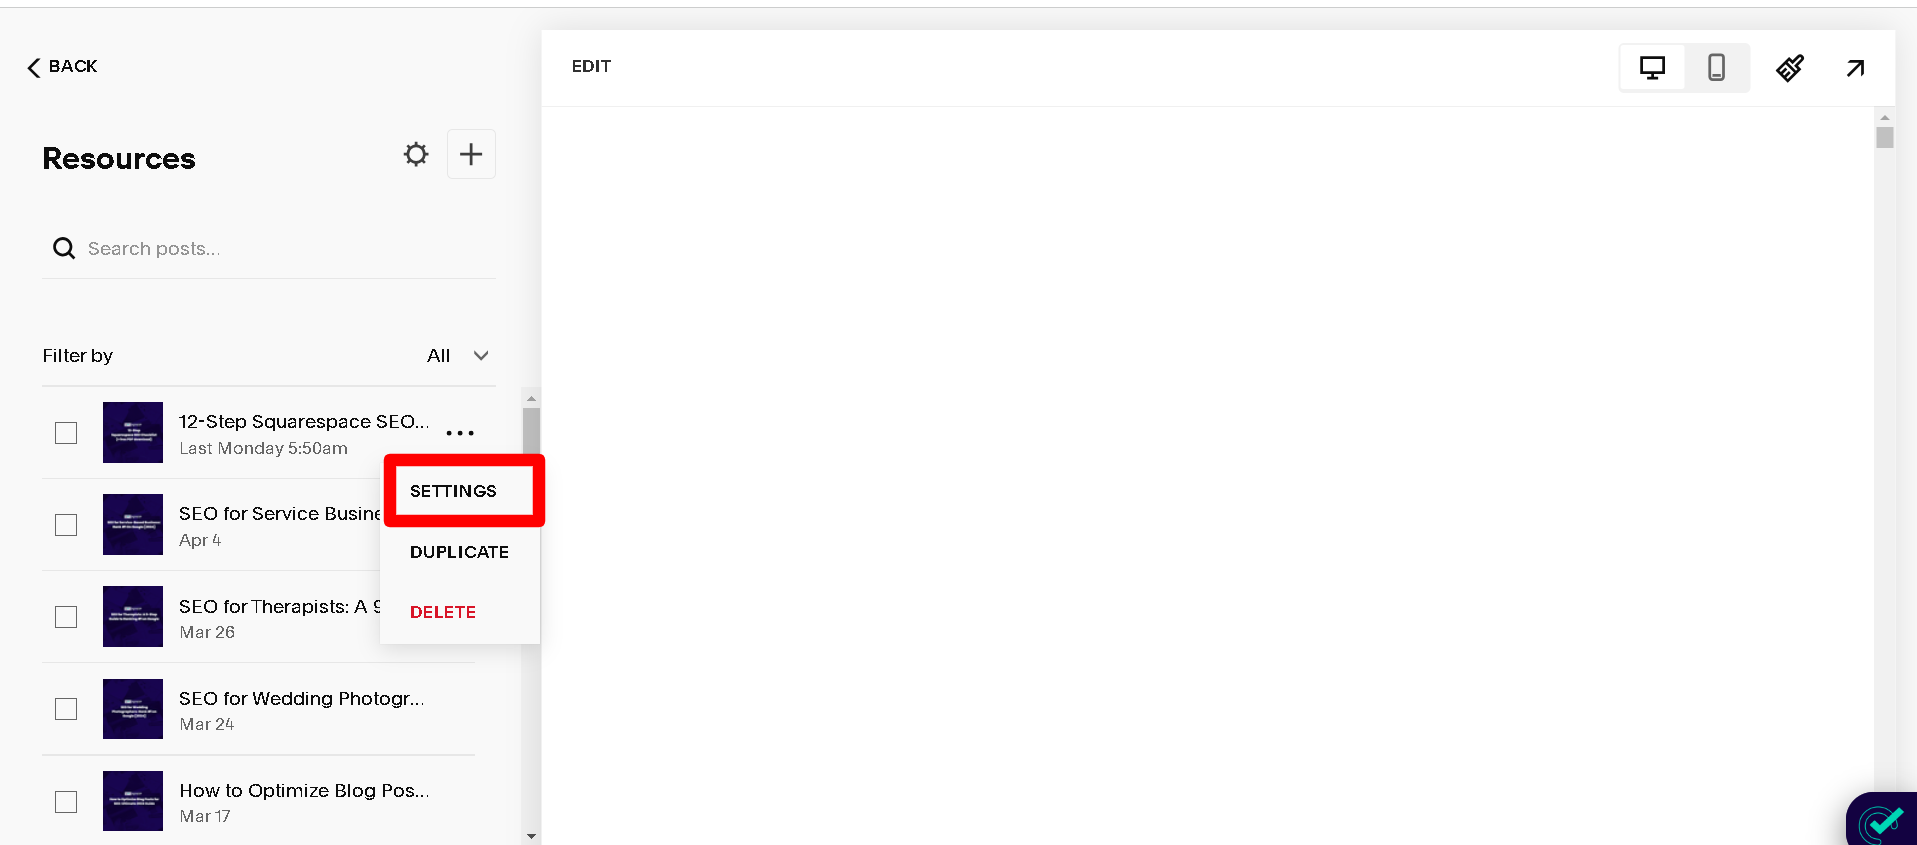
Step 3 - Locate and Select the Post in the Side Panel
Within the blog page, identify the blog post you wish to modify. Hover on the title and click on three dots.

Step 4 - Open Settings from the Ellipsis Menu
You'll now find yourself in the blog post editor. Look for the settings or options panel where the published date is displayed.
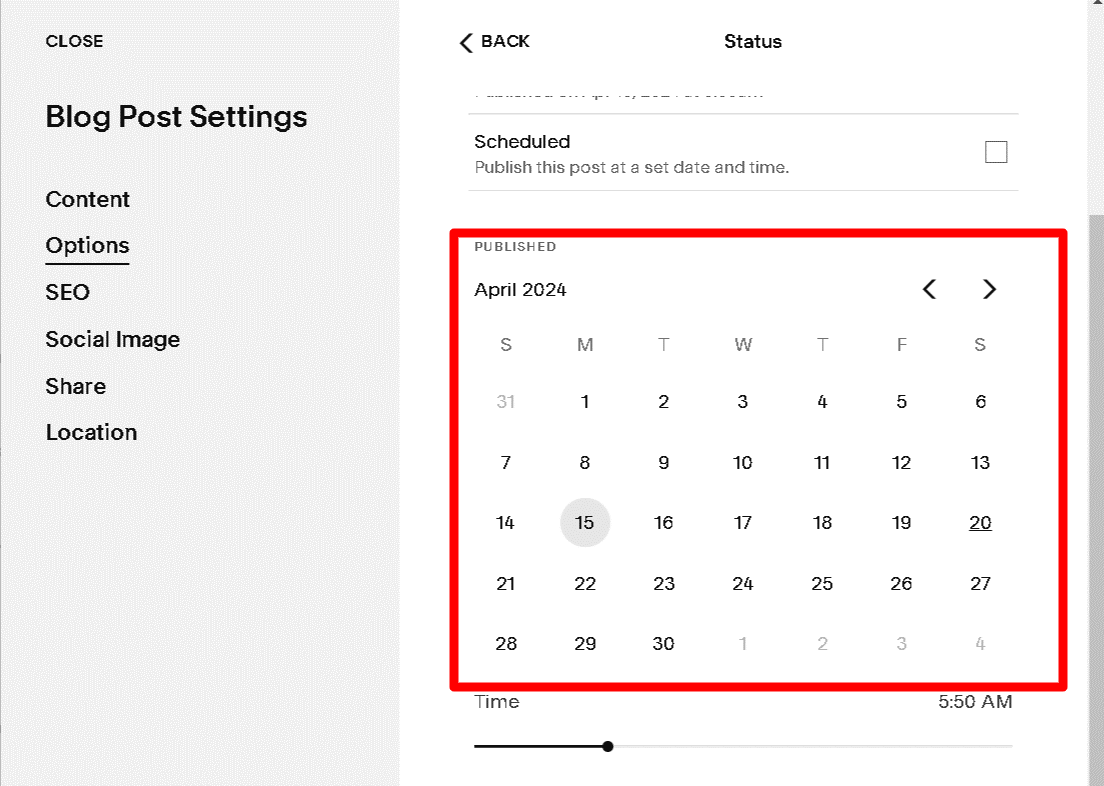
Step 5 - Find the "Status" Section in the Options Tab
In settings, go to Options and then go to the Status field.

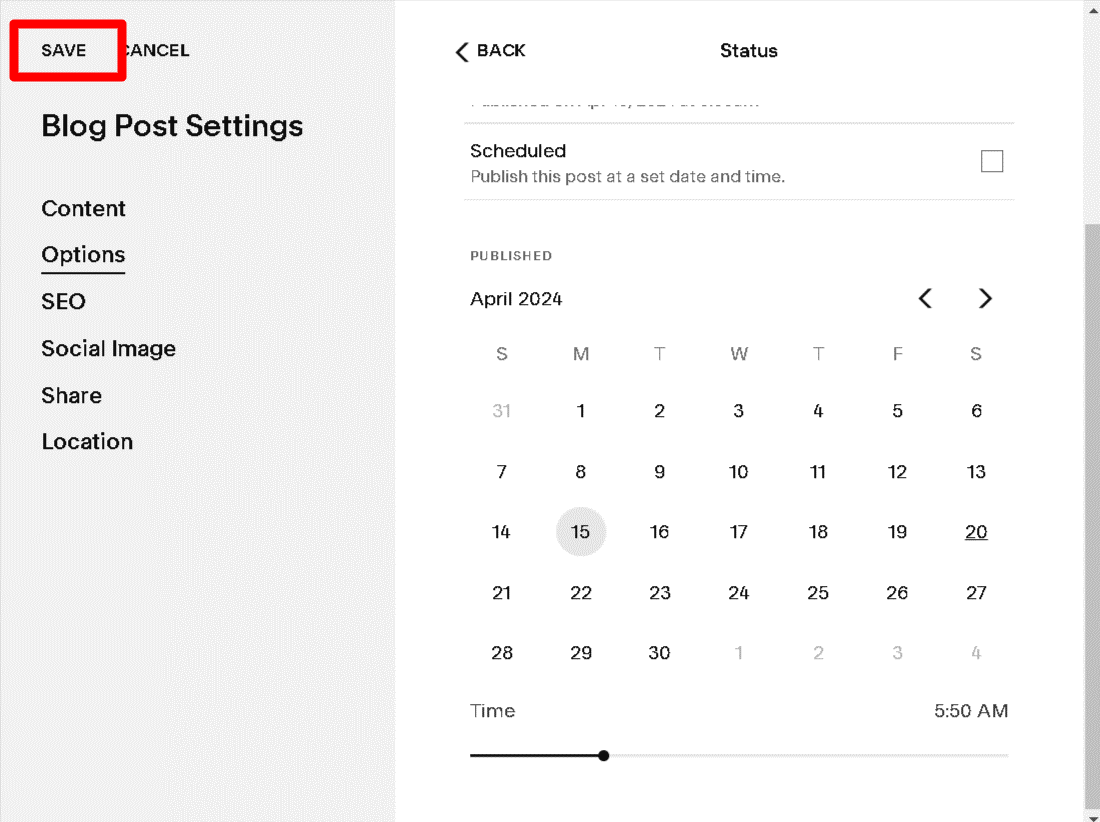
Step 6 - Select a New Date Using the Calendar
Once you've located the ‘Date Published’ field from the bottom of the status page, click on it to activate the current date name picker. Here, you can select a new date from the calendar or manually input the desired date using the provided date format below. You can also adjust the time with the slider.
Step 7 - Save the Updated Changes
After selecting the new date, don't forget to also click save on your changes. Look for the save button, typically located in the top right corner or bottom left corner of the post editor. Click on it to confirm the changes.
Step 8 - Index on GSC
After successfully changing the date and saving the changes on your Squarespace blog post, it's important to ensure that search engines recognize this update. To facilitate this, you should re-index your post using Google Search Console.
If you're unfamiliar with how to re-index, check the below video. This video will provide you with step-by-step instructions on how to effectively use Google Search Console to ensure your updated content is promptly recognized and indexed by search engines.
By following these straightforward steps on how to change date on Squarespace blog post, you can easily modify the publication dates of your Squarespace blog posts, ensuring that your content remains accurate and up-to-date for your audience. Whether you're updating an earlier publication date or adjusting the scheduling of your posts, Squarespace provides a user-friendly interface to facilitate these changes efficiently.
Conclusion
Regularly updating the publication dates on your Squarespace blog posts is important for maintaining a fresh and relevant online presence. By following the steps outlined, you can effectively manage your content and enhance its visibility on search engines.
Keeping your blog posts up-to-date not only improves your site's SEO but also ensures that your audience receives accurate and timely information. Utilise keywords to optimise your content for search engine rankings. Ultimately, by prioritizing regular updates and utilising relevant keywords, you can drive traffic to your site and provide a valuable experience for your readers.
Squarespace Blog Post FAQs
Can you change the date on a Squarespace blog post?
To update the date of a specific post on your blog page:
Navigate to the blog page where the post is located.
Find the post in the side panel and click on the ellipsis (...) icon.
Select "Settings" from the menu that appears.
Within the Options tab, locate the "Status" section.
Click on the calendar to choose a new date for the post.
Adjust the time using the slider if necessary.
Save your changes.
By following these steps, you can easily modify the date of your blog post to ensure it reflects the most current information or aligns with your content strategy.
How do I change the date on my blog post?
To change the date of your post, follow these steps: Open the blog page in the PAGES panel, locate the three dots beside the post, click "SETTINGS," then select "Options," followed by "Status Published." Change the published date by using the datepicker, and remember to save your settings.
Can you edit a blog post after publishing on Squarespace?
Yes, you can edit a blog post after publishing on Squarespace. To edit an existing post, first open the blog page, then click on the specific blog post in the side panel. Next, select published below, locate and click on "Edit" in the top-left corner of the page.
How do I change the Squarespace blog date format?
To change Squarespace blog date format you need to use custom code. To learn how to create a custom date format, and how other users have changed the date format on Squarespace, check out this thread on the Squarespace forum.
If you want a specific solution to create a custom date format, feel free to contact the SEOSpace team!
How to reorder blog posts in Squarespace?
To reorder blog posts in Squarespace:
Squarespace arranges blog posts in chronological order based on their publication date. Therefore, to change the order of your blog posts, you need to adjust the publication dates.
Navigate to the blog page and click on the post you want to reorder.
In the blog post settings, click on the "Options" tab.
Change the current publication date to a new date that fits the desired order - this includes adding an earlier publication date if needed.
Adjust the dates for other posts as necessary to reflect the correct sequence.
By manipulating the dates, you can effectively reorder your blog posts to ensure the most relevant content appears first on your Squarespace site.
How to schedule a blog post on Squarespace?
To schedule a blog post on Squarespace:
Start by creating a new blog post or editing an existing one on your Squarespace site.
In the blog post settings, go to the "Options" tab.
Under "Status," choose "Scheduled" from the settings page.
Set the desired publication date and time. This allows you to plan and prepare your content in advance.
Once you’ve set the date and time, click "Save." Your blog post will publish immediately at the scheduled time, making content management more efficient and streamlined.
Is Squarespace good for blogging?
Yes, Squarespace is excellent for blogging due to several reasons:
It offers a user-friendly interface that makes it easy to create and manage blog posts.
The platform provides various customizable blog post settings and blog section layouts, allowing you to tailor your blog to your specific needs.
Integrated SEO tools help your blog posts rank better on search engines.
Squarespace also supports various media types, enabling you to enrich your blog posts with images, videos, and other content.
Overall, Squarespace is a robust platform for both novice and experienced bloggers. For more detailed insights, check out our guide on how to blog on Squarespace.
How to unpublish a blog post on Squarespace?
To unpublish a blog post on Squarespace:
Go to the blog page and select the post you want to unpublish.
Click on the "Options" tab within the blog post settings.
Under "Status," select "Draft." This will move the post from a published state to a draft state.
Click "Save" to confirm the changes. This action will remove the post from public view without deleting it, allowing you to edit or republish it later.
Using this feature helps in managing the visibility of your blog content on your Squarespace site, ensuring that only the most relevant posts remain live.
How do you backdate a blog post on Squarespace?
To backdate a blog post in Squarespace, ensure that the post's status is set to "Published." Then, you can use the left arrow on the calendar to select a date in the past for the blog post's publication date.
Can you archive blog posts on Squarespace?
Squarespace does not currently offer a specific feature to archive blog posts - blog posts will usually publish immediately on the current date, but you can manually move posts to a hidden or password-protected page to archive them.