How to Publish a Squarespace Website in 5 Steps (2025 Guide)
Whether you’re a creative freelancer or a business owner, you need an online presence to showcase your work, products, and services. And what better way to do this than to create a website for your brand/business?
However, where do you start?
If you’re looking for an easy-to-use platform with all the bells and whistles of a professionally designed site, look no further than Squarespace. You don’t need mind-boggling coding and UI design knowledge to start with. In fact, with our Squarespace SEO plugin, you can get your website to rank at the top of the search engine results as long as you adhere to SEO best practices.
In this five-step guide, with the help of a Squarespace SEO Expert, you can learn how to publish a Squarespace website for free. We’ll walk you through everything from selecting a template to publishing the final version of your site — all with the click of a few buttons.

How to Publish a Squarespace Website (5 steps)
In short, the steps for how to publish a Squarespace website are:
Note: If you want to skip the process and save time, you can hire one of the best Squarespace designers to set up and publish your website for you.
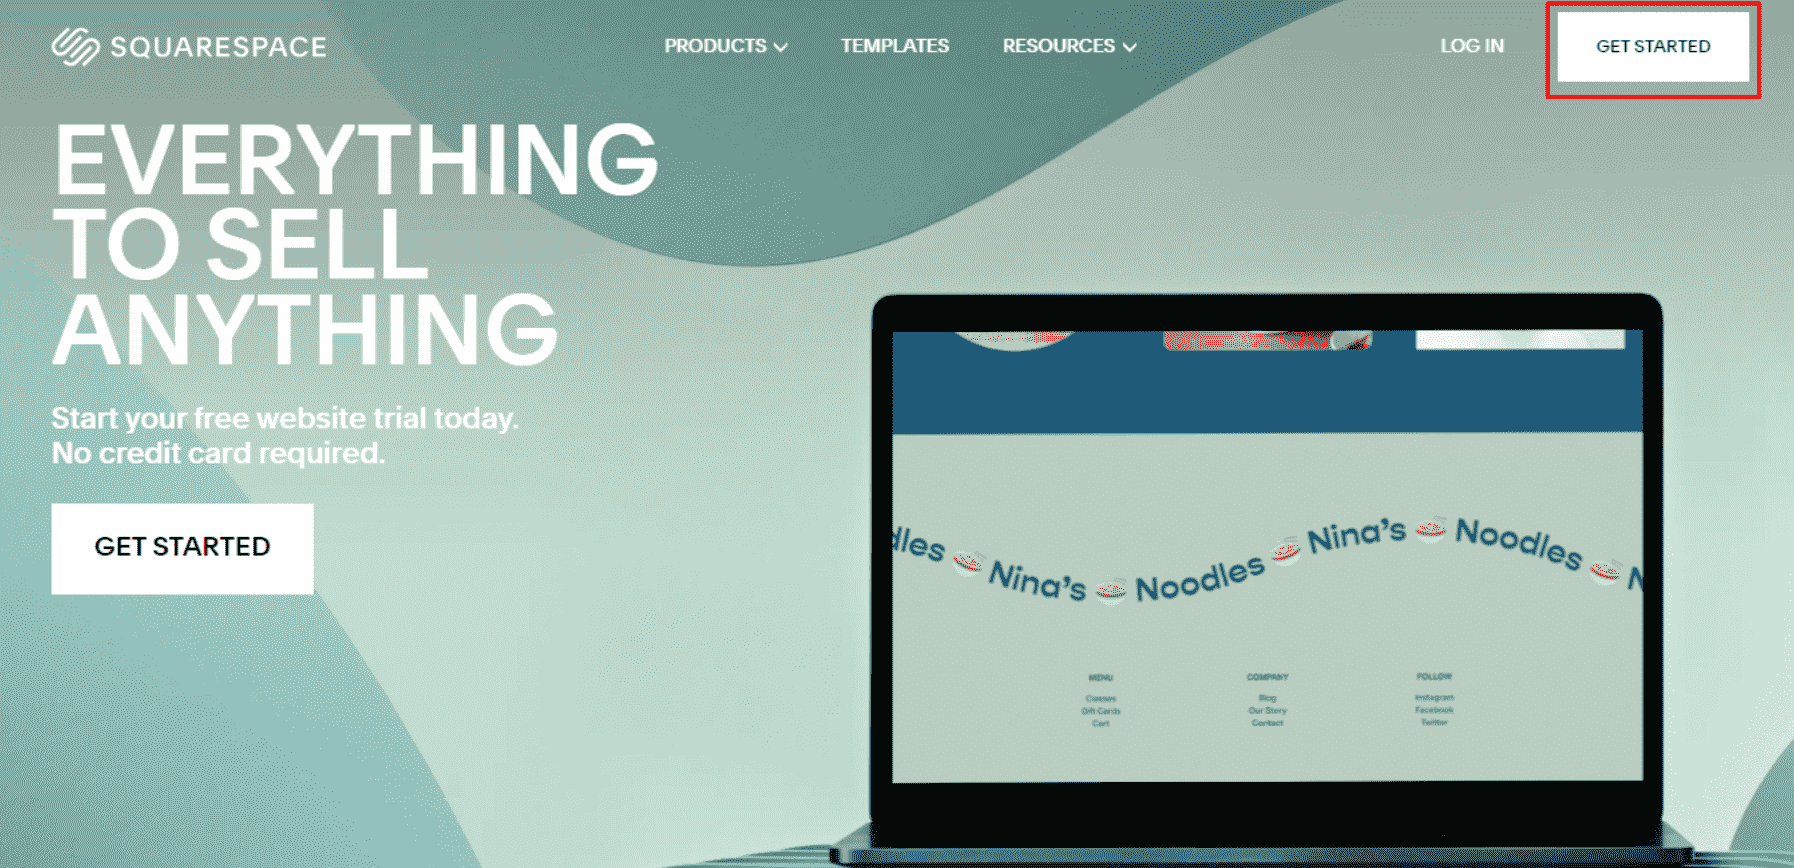
Step #1: Create and register your Squarespace account.
The first step is to set up a Squarespace account. This involves entering your email address and password, choosing an account type, selecting a domain name, and setting up a billing plan. Once you’ve completed this process, you can start designing and customizing your site.
You’ll also want to ensure you proceed through the account setup wizard, which will guide you through choosing a template and configuring basic settings for your site. Visit the official Squarespace website to get started.
Step #2: Build and tweak your website.
Once you’ve signed up for a Squarespace plan, it’s time to set up your website. And don’t worry — Squarespace makes this process easy with their modern layouts and streamlined drag-and-drop tools.
Note: If you’re more interested in building a Squarespace blog, we suggest you check out our recently published post on the topic.
If you follow the Squarespace account setup wizard advice, you should have a suitable template for your website by now. With comprehensive options for adjusting everything from fonts and colors to page settings, you can fine-tune your design until it’s perfect. If you want to learn how to edit a Squarespace website after publishing, the same steps here apply.
To edit the layout of an existing page, navigate to “Pages” and select the page of interest from the available list.
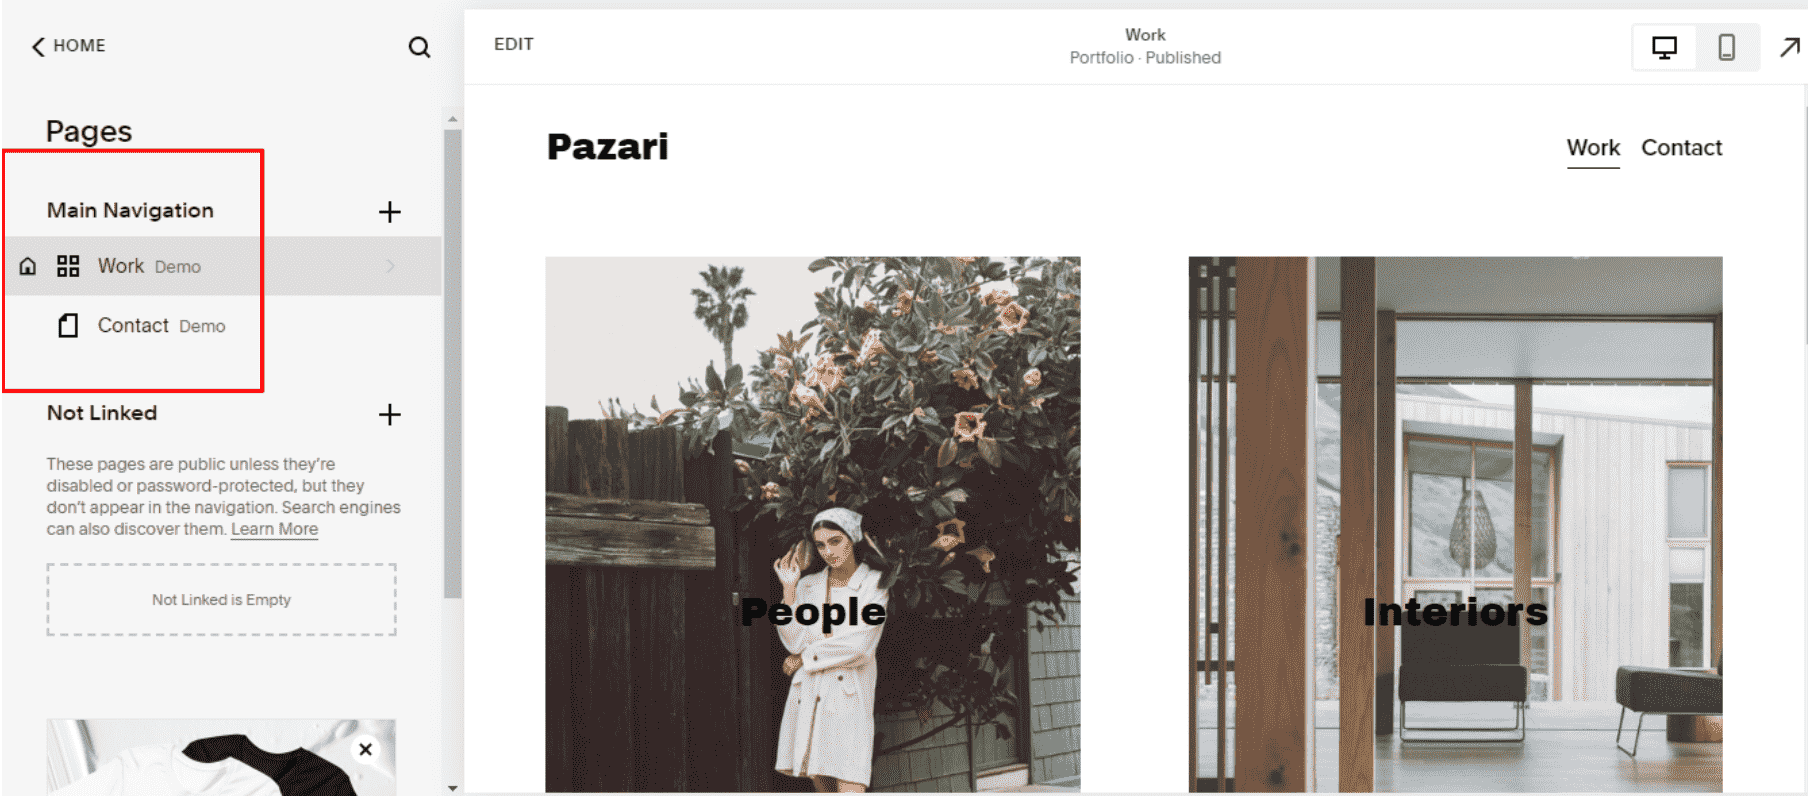
Alternatively, you can use the “+” icon to add a new page to your website; either way, you’ll use blocks and sections to tweak the layout.
If you’re on an existing page, click the “EDIT” button to start editing it.
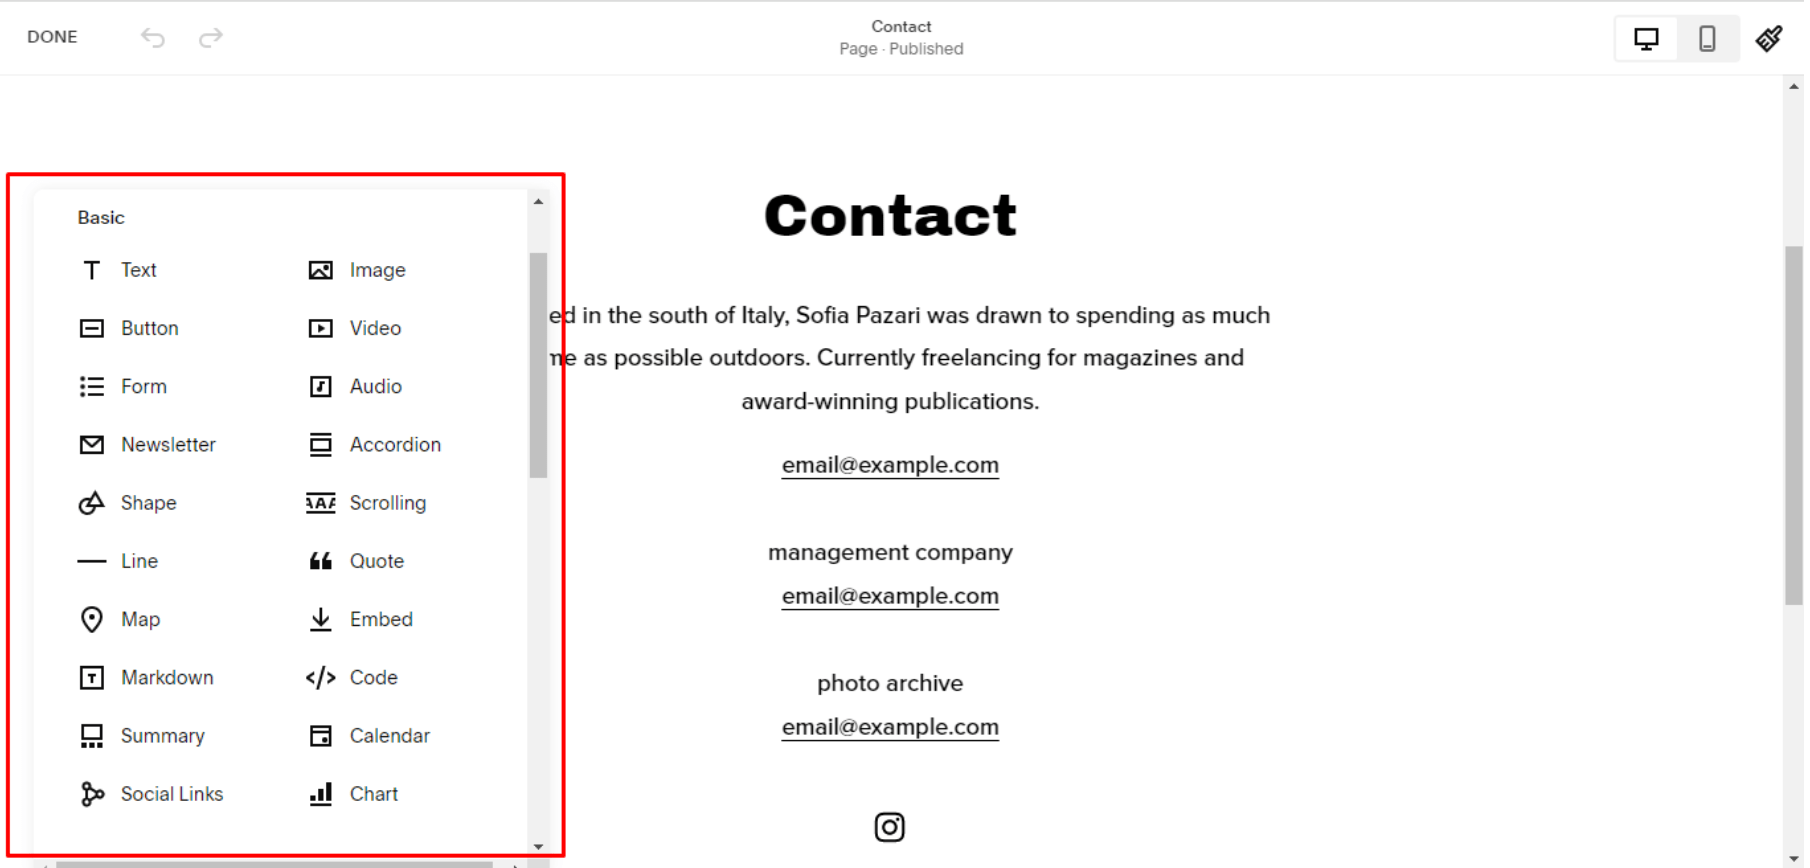
The trick to Squarespace page layout and design is “Blocks” and “Sections.” Sections are the containers holding similar page elements, while you use Blocks to add new page elements.
To add a new section, click the “ADD SECTION” button; to add a new block, select the “+ ADD BLOCK” button.
You have several block options. Simply scroll through and select the most appropriate for your page.
And if you need to customize the page style and font to suit your brand, use the “Brush” icon. Here, you’ll see the different styles options available on Squarespace.
Note: The style settings here are usually applied site-wide.

An alternative way to apply global styles for fonts, colors, etc., to your website is by navigating to “Design” >>> “Site Styles.” As with the above method, you’ll see all available global styling options.
To save your changes, hover over the “DONE” tab, and click “Save.”
Step #3: Make the required connections.
After customizing your website, the next step is ensuring all connections are in place. This means setting up your domain and ensuring any third-party integrations like payment processors, Squarespace SEO plugins, email marketing tools, and more are correctly connected.
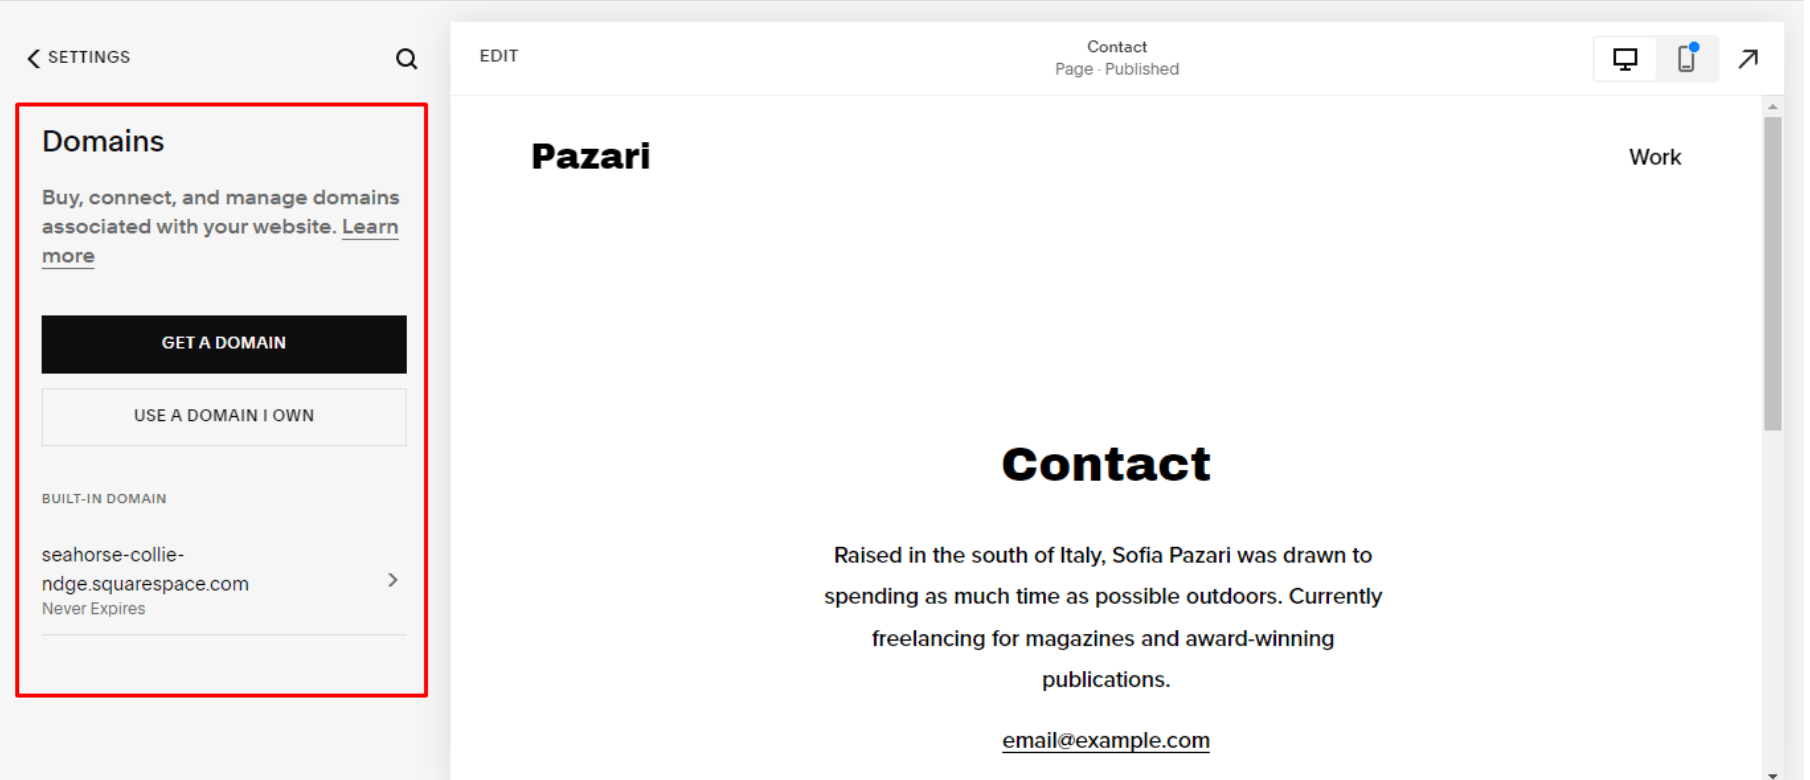
You can start by setting up your domain, which is what people type in to find you online. With Squarespace, you can manage multiple domains from a single account. You’ll also be able to use the same contact information for all your domains by linking them to the same user account.
Navigate to “Settings” >>> “Domains” to link an existing domain or purchase a new one from Squarespace. Check out this guide for changing Squarespace domain names to learn more.
And to add plugins or extensions, navigate to “Settings” >>> “Extensions,” search for whichever tool you need, and select it to start using it on your website.
Once all connections are verified and active on your site, you’ll be ready to publish it!
Step #4: Preview your pages.
Once you have your content and design ready, it’s time to preview your website and launch it for the whole world to see. Previewing will allow you to see how each page of your website looks on different devices.
The default view for each page is “Desktop,” so to preview a page on “Mobile,” navigate to the desired page and select the “mobile icon.”
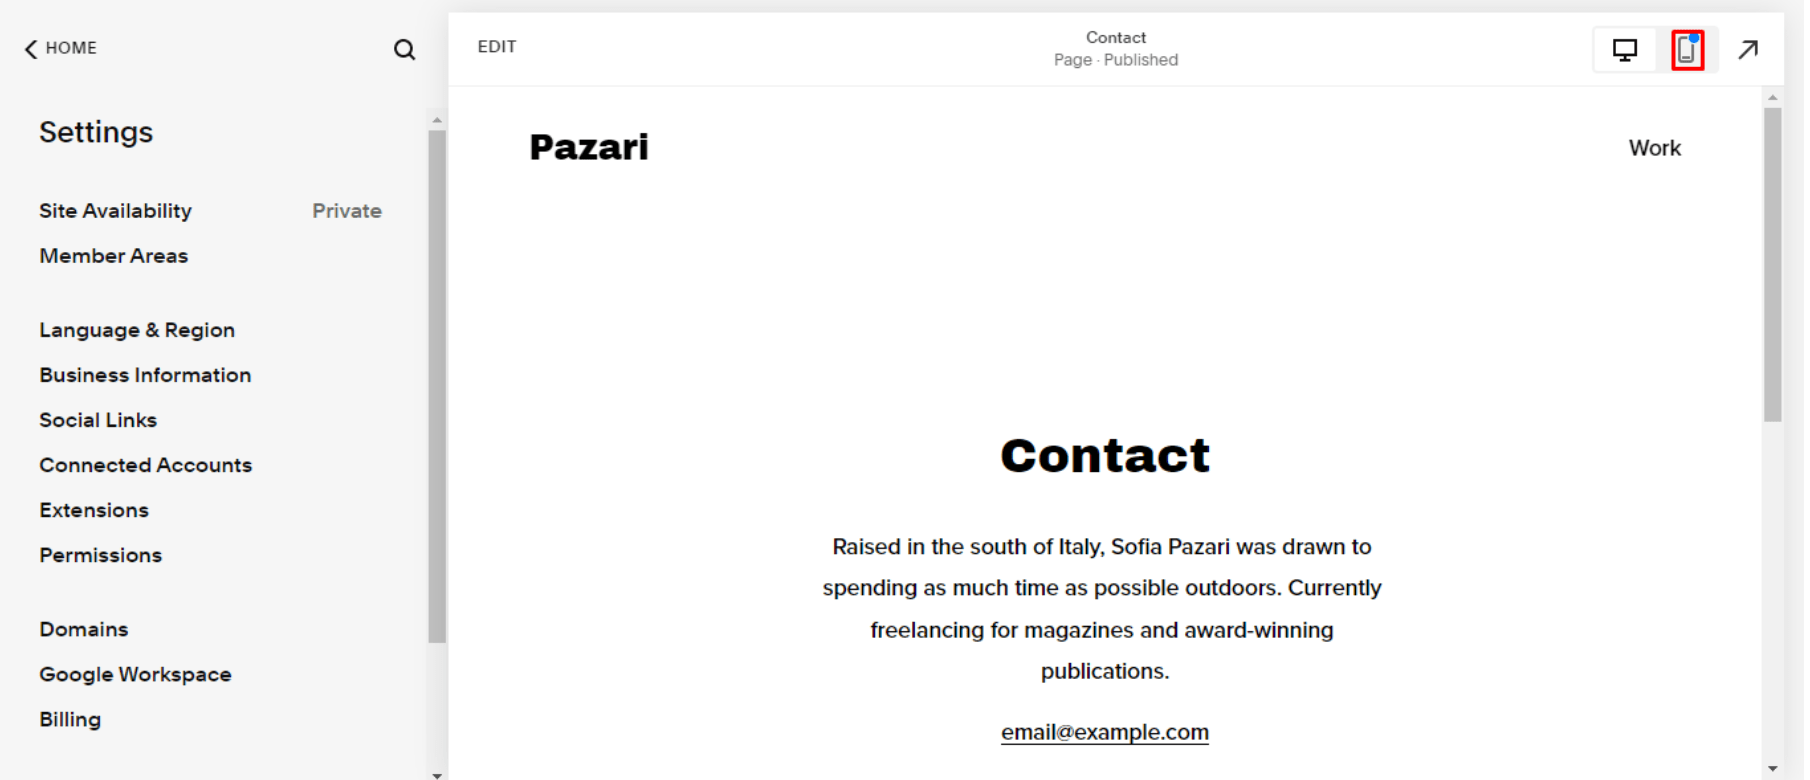
Now, you should see how your website looks on mobile devices.
Ensure everything looks good before proceeding to the next step.
Step #5: Publish your Squarespace website.
You’re almost done! With only a few steps left, you’re well on your way to having a beautiful Squarespace website. After this step, you’ll know exactly how to publish a Squarespace website.
5 1: Setting up and testing website features.
Before publishing your website, test any additional features you may want to use, such as forms or e-commerce stores. This will ensure that they’re working correctly before launch.
You can also head to sites like SquareKicker and SquareWebsites if you really want to take your site’s aesthetics to the next level.
5.2: Optimize for SEO
If you want potential customers to find your website easily, setting up SEO optimization measures immediately is essential. If you’re unsure how to navigate this space, you have absolutely nothing to worry about; we’ve put together valuable Squarespace SEO tips to guide you in setting up optimization measures on your new website.
5.3: Publishing your Squarespace website.
To publish a Squarespace website, navigate to “Settings” >>> “Site Availability” and check the “Public” radio button.

Your website is now live!
Top Tip: You can change your Squarespace site title in 5 easy steps even after publishing it.
Once everything is set up, it’s essential to manage the website, ensuring any changes or updates are done correctly and promptly. This will ensure your website stays up-to-date and secure for successful business operations.
And if you ever need to take your website off the public view, here’s how to temporarily disable a Squarespace website: Simply navigate to “Settings” >>> “Site Availability” and check the “Private” radio button.
And to unpublish a Squarespace site, navigate to “Settings” >>> “Advanced” >>> “Unpublish” >>> “Unpublish Site.” We recommend against this, as you will lose all your SEO traffic, however, in an emergency, you know what to do.
Frequently Asked Questions
How to Publish a Squarespace Website for Free?
Unfortunately, Squarespace doesn’t offer a free hosting option. However, they do offer a 14-day free trial for new users. After the trial period elapses, you must choose a paid plan to continue using Squarespace and have your website hosted on their platform. If you’re looking for a completely free option, you may want to consider using a different platform or hosting your website on a free web hosting service.
How much does it cost to publish on Squarespace?
Squarespace offers various pricing plans depending on the features and functionalities you require for your website, and they include the following:
Personal: $16/month
Business: $23/month
Basic Commerce: $27/month
Advanced Commerce: $49/month
Note: The cost may vary depending on your chosen payment schedule and any additional features you add to your plan.
Does Squarespace own my website?
No, Squarespace doesn’t own your website. When you create a website on Squarespace, you retain ownership and control of your content. However, Squarespace does have certain rights to your content, as outlined in its terms of service, including the right to host and display your content on its platform. It’s always a good idea to read and understand the terms of service before using any website builder or hosting service.
How to Track Site Performance Post-publish?
To track site performance after publishing a post, you have to use the Google Search Console (GSC). To do that, log in to your GSC, then navigate to the "Performance" and "Search Results" sections to view your site's click-through rate (CTR), along with total clicks and impressions.
How to Set Up E-commerce on Squarespace?
Setting up an e-commerce store on Squarespace is straightforward. Start by selecting an e-commerce template that fits your online shop's vibe. Squarespace templates are designed with commerce in mind, making customization easy. Add your products, whether they're physical goods, digital downloads, or services, and organise them with categories for simple navigation.
How do You Integrate Third-party Tools with Your Site?
When integrating third-party tools into a website, you must first choose the APIs that best meet the requirements of your project. These APIs, supplied by other companies, allow you to add additional features without having to create them from scratch. Skilled developers are required to integrate these APIs into your application's backend and frontend code.
Wrapping It Up
Anyone can easily and quickly set up a live Squarespace website in no time; our guide on how to publish a Squarespace website outlines the processes in great depth.
Once you’re confident in your website design and any other settings, you only need to modify your “site availability settings” to “public,” and your website will be live. Editing, disabling, and unpublishing a website are just as straightforward, so you can make changes to your website without any hassle.
Plus, with all the features and customization options Squarespace offers, you won’t have to worry about your website not reflecting your brand, no matter the changes. And if you want to compete in your niche confidently, we recommend you stick to our Squarespace SEO checklist. You can also request a free website audit from us to know how your website performs in terms of SEO.


As always, feel free to get in touch if you have any questions, or join our free SEO community where you can ask questions and engage with other readers of SEOSpace.